Quick Start Guide
Let’s try the most basic features of DuME to learn how it works!
Find your most beautiful media file and let’s play with it; on our side, we’ll use a video of Agnes, our dear hen.
Note
The first time DuME is launched or after an important update, it is longer to load than usual, beacause it’s listing the available codecs on your system and other configuration information. Subsequent launches will be much faster.
Add an input file
To setup your first job in DuME, you can just drop a media file from your file browser, or click the Import files button.
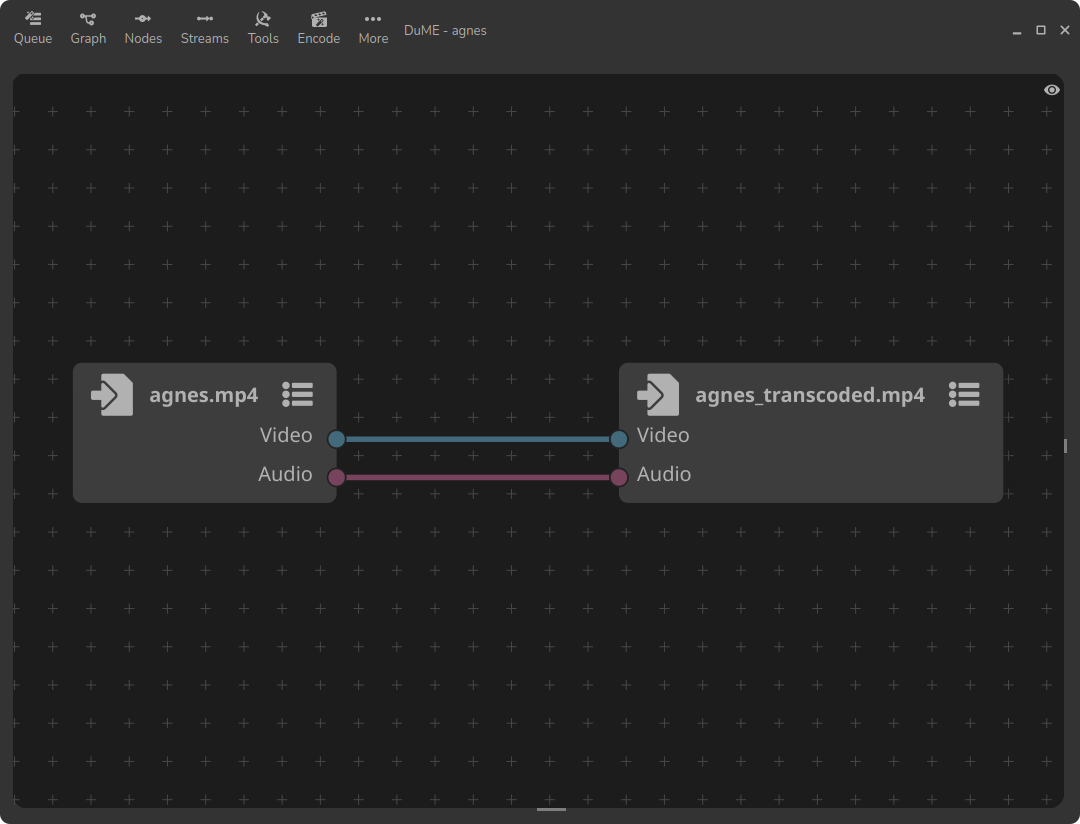
When working with media files in DuME, you’ll have to create what we call a graph; when you’ve dropped or imported your media file, DuME automatically created one for you, with an file input node and an file output node, connected together.
You can navigate the view with these shortcuts:
- Click an empty space to deselect everything and hit
[F]or[.](numpad) to center all nodes in the view. Middle clickto pan the view, or[Alt] + Mouse wheelandMouse wheelfor horizontal and vertical scrolling.[Ctrl] + Middle clickor[Ctrl] + Mouse wheelto zoom in and out.- The “eye” button in the top right corner of the view shows a menu with more viewing options and details.
DuME automatically sets the most common settings for the output format: a pretty good quality but relatively small standard MP4 file (encoded in h.264 for the video and AAC for the audio).
Encode and output settings
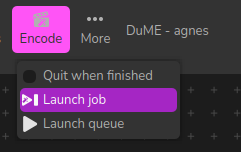
To convert your input file (i.e. transcode it), you can open the Encode menu in the top bar, and click Launch Job.
If you’d like to adjust the output settings, set the output file path, or check the encoding settings, click the output node to select it. A side panel automatically opens, showing all details about the encoding and the output format.
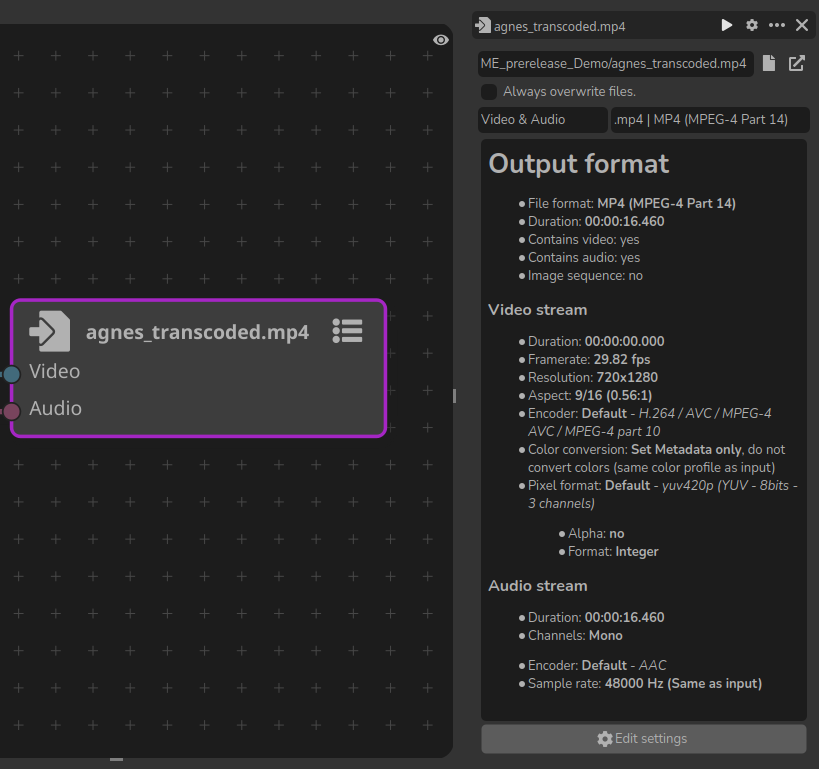
This panel lists all details about the output file and format. On top of it, you can set the output path, and select your output format. Let’s keep it to .mp4 for now.
If you click the “cog” button in the title bar, or the Edit settings button in the bottom of the panel shows all the settings you can adjust.
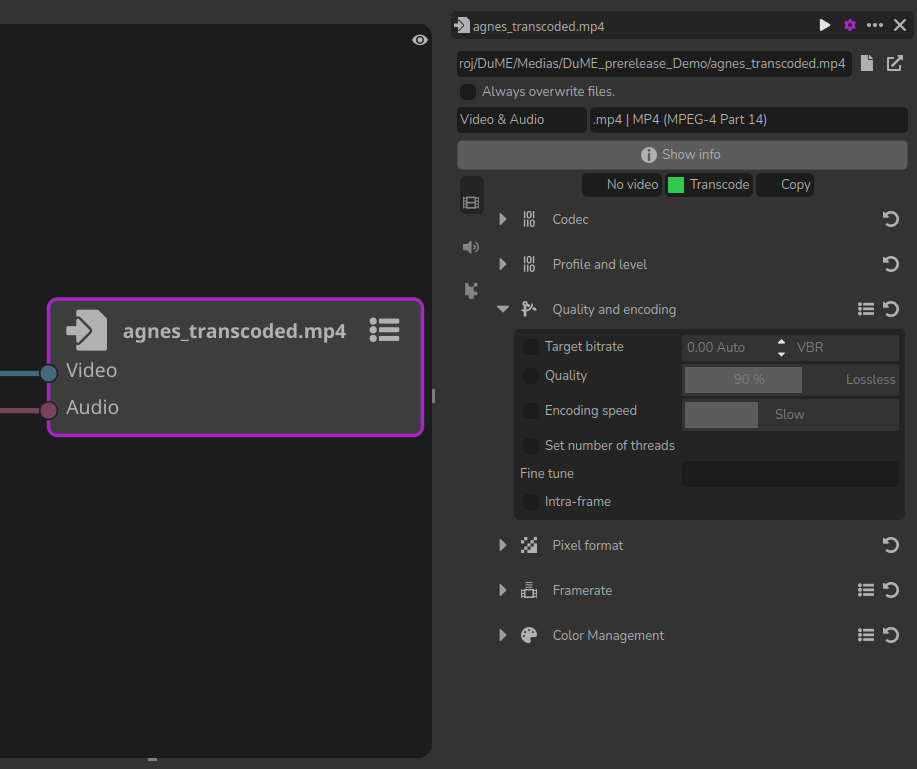
There may be a lot of settings, sorted in three tabs (video, audio, custom settings) and a few categories. For example, you can click the Quality and encoding category to try and adjust a few things.
To check your output settings and make sure you’re using the right values for your needs, you can instantly preview the output without actually rendering the file. Just click the “play” button in the title bar of the panel to open the video player.
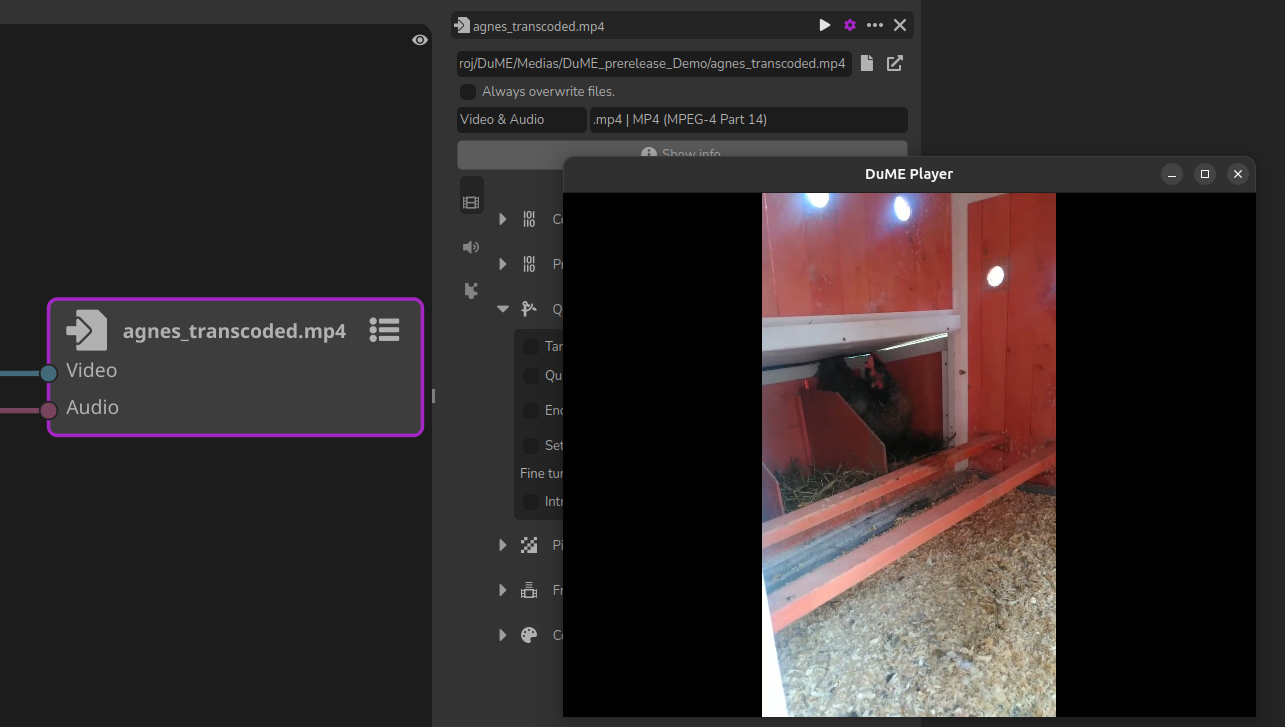
DuME plays the video exactly with your output settings so you can have an actual look at what your output will be.
Of course, you don’t have to adjust all settings every time you encode a file, but you can use presets and create your own presets. Click the “more (…)” button in the title bar to access the presets menu and other details.

Add nodes to adjust the video and audio streams
You can hit [Shift] + [A] or Right click the nodal view to show the menu to add nodes.
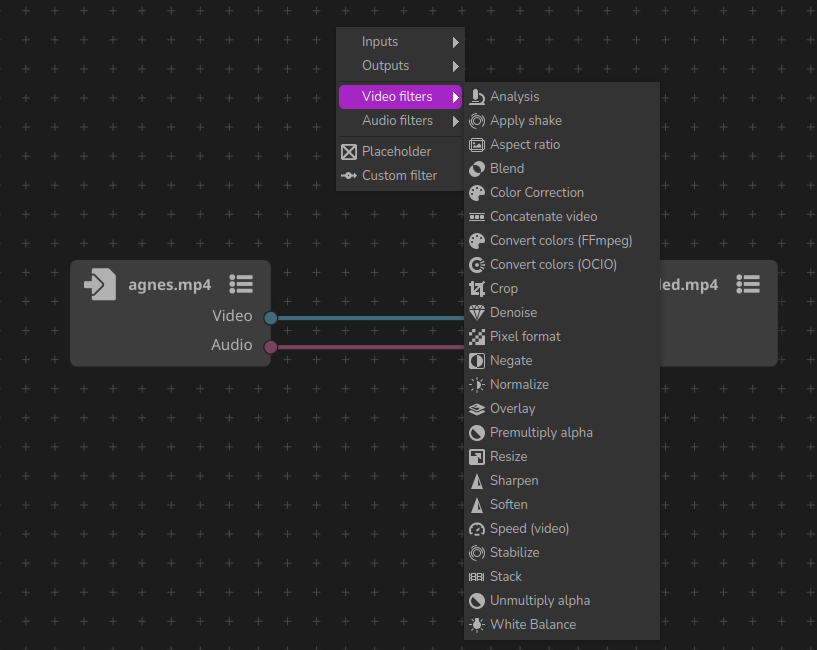
After you’ve added a node, you can drag and drop it on a stream to automatically connect or insert it in your graph. To disconnect a node, you can click the corresponding stream(s) and hit [Del] to remove all selected items.
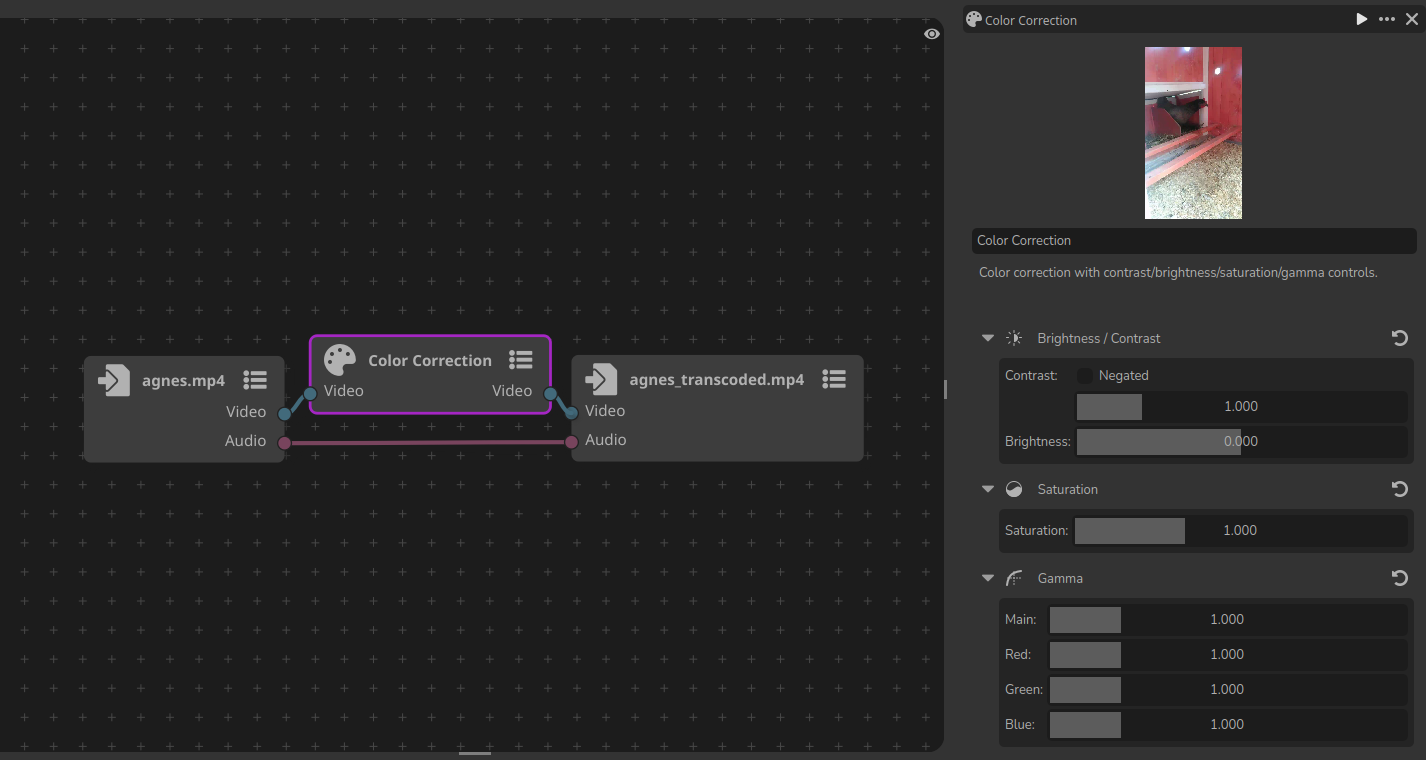
The settings for the selected node are shown in the side panel. You can adjust all values, and the thumbnail in the top is automatically updated.
Hit [V] to automatically connect the Viewer Node to the selected node and get a better preview.

The render queue
Click the Queue button in the top right corner of the application to open the Render Queue panel.

You can see your current job ready to be rendered, and from there you can create new jobs and launch the queue.